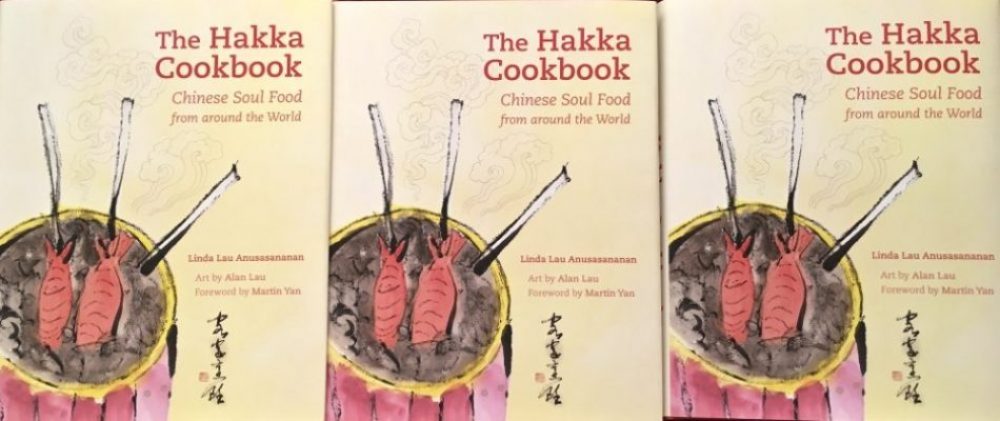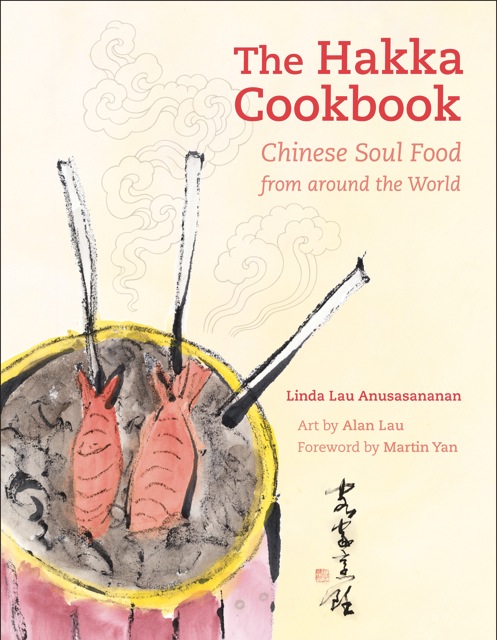
The Hakka Cookbook appears in Flavours July 2013 issue.
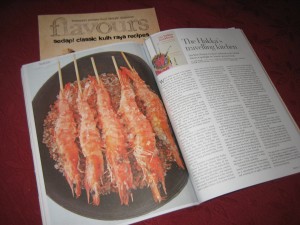
Last month a beautiful magazine arrived in the mail from Malaysia. A bookmark stuck between the pages of Flavours, a lifestyle magazine published in Kuala Lumpur, marked “The Hakka’s traveling kitchen,” a ten page story about The Hakka Cookbook. The writer, Julie Wong, interviewed me in Paris at the Gourmand World Cookbook Awards where The Hakka Cookbook was recognized as the Best Chinese Cuisine Cookbook in the World.
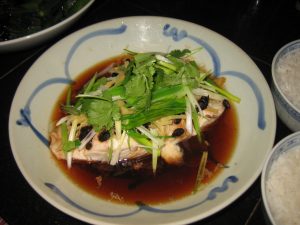
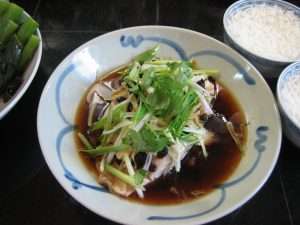
The beautifully designed and photographed story featured five recipes from the book, adapting the recipes to their Malaysian readers, many who are Hakka.
I was curious about their version of salt-baked shrimp. I had eaten the shrimp in Beijing and Hong Kong. The shrimp version is likely adapted from the Hakka classic, salt-baked chicken. With no ovens, the Hakkas buried the chicken in a pit lined with hot rocks and salt. The salt absorbed the heat from the rocks and transferred it to the chicken. A chef from Beijing, suggested the technique was invented by a clever Hakka who sold salt. Since the recipe requires pounds of salt, he could make a lot of money.
Hakkas who lived near the sea, likely created the shrimp version. Today’s chefs have replaced the pit with a large pan, and a flame under the pan for the hot rocks. The chef inserts a long skewer down the length of large head-on, unshelled shrimp. He buries the skewered shrimp in the pan of hot salt. The skewered shrimp are dramatically served in a wood bucket of hot salt as seen in the painting on the book’s cover.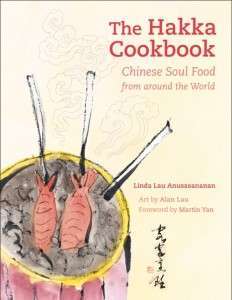
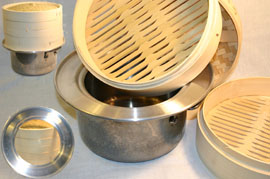
To adapt the recipe to a western home kitchen, I tried both the stove-top and the oven. On the stove, I found it was difficult to heat the salt evenly without stirring the heavy mass often. The salt also scratched the pan. So I decided to bake the salt in the oven in two pans. It takes longer, but requires no attention. Once the salt is hot, plunge the skewered shrimp, head first, into the salt in one of the containers, then pour remaining salt around shrimp. Return to oven, and shrimp will be done in a few minutes.
In Malaysia, a western oven is not so common, so the editors adapted my recipe to a technique of baking the shrimp (without skewers) in the salt on the stove top. Since the Flavours’ story is not available online without a subscription, they agreed that I could share their recipe and photos here. This recipe is for readers who live outside of North America and prefer to use a stove top.
For my oven technique and American measurements, please see page 62 in The Hakka Cookbook.
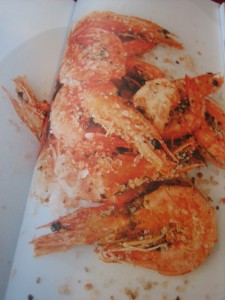
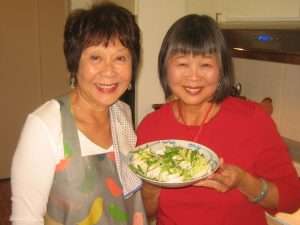
Original photos by Yap Chee Hong & various sources. Food prepared by Debbie Teoh.
Salt-baked Shrimp (from Flavours July 2013 pg. 63)
Makes 2 to 3 servings as a main dish or 6 to 8 servings as an appetizer
500 g shrimps (16 to 20), in their shells
2 tablespoons minced spring onions
2 tablespoons Chinese rice wine (Shaoxing) or dry sherry
1 tablespoon minced garlic
1 tablespoon minced ginger
1 tablespoon minced red or green chilies
3 kg rock salt, or as needed
With scissors or a small sharp knife, cut through the shell of the shrimp along the centre of the back and make a slit about 1 cm deep into the flesh. Remove the vein, if present, Rinse shrimp and drain.
In a bowl, mix shrimps, spring onions, wine, garlic, ginger, and chilies. Rub some of the marinade into the slit of the shrimp. Cover and chill at least 30 minutes or up to 1 hour.
To bake on stove top: Place the salt in an old wok or claypot, cover with lid, and heat until the salt is very hot, about 10 to 15 minutes. The prawn should turn pink immediately when it is buried in the salt.
Open lid and bury the shrimps in the hot salt. Put the lid back on and cook for about 1 minute, or to desired doneness. Remove shrimps from the hot salt.